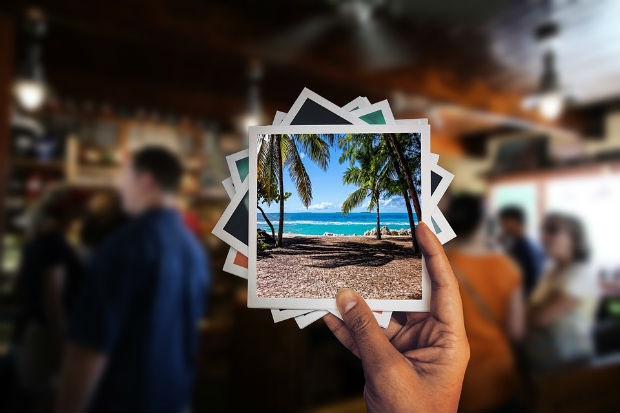
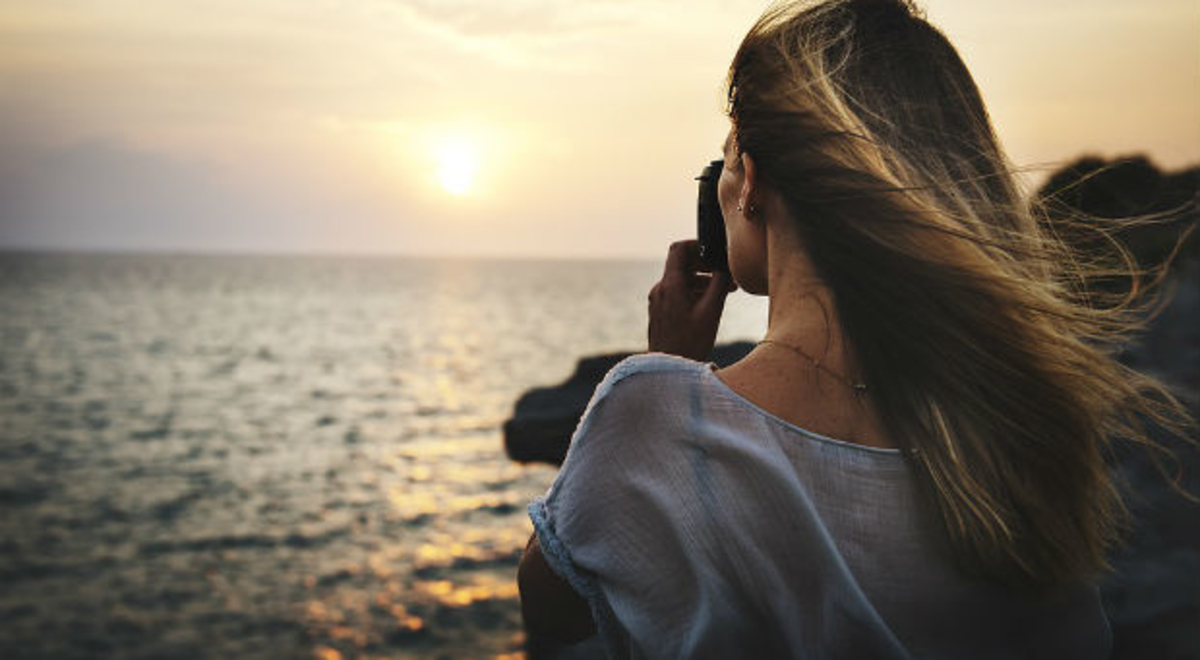
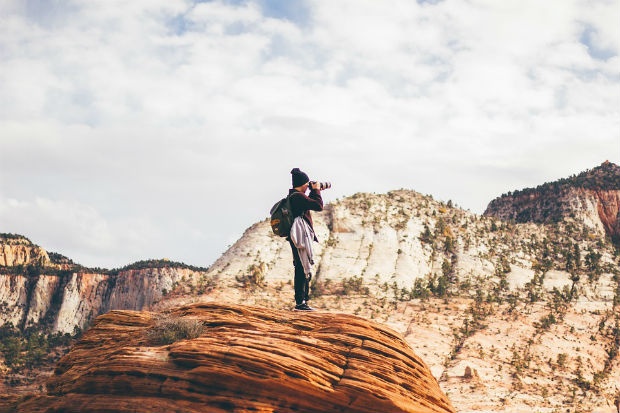
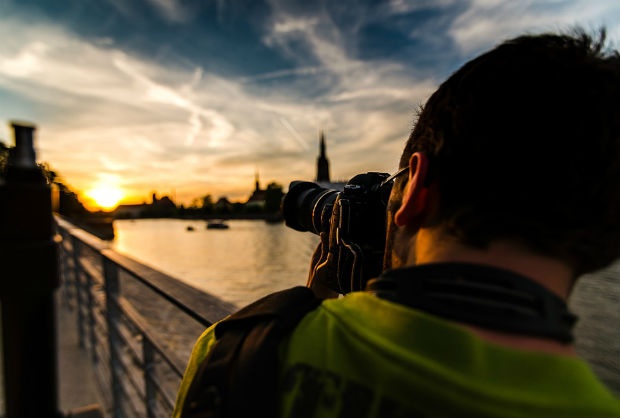
Oh, snap! May is officially Photo Month. As travellers, we know the importance of shooting the unique sights of your destination. Not only are you capturing the people, places and things, you are capturing meaningful memories.
The beauty of travel photography (besides the sights themselves) is you don’t need to work for National Geographic or Conde Nast Traveller to make it happen. With the right camera equipment, you could even make a few bucks selling your images. Or at least, bulk up your Instagram followers.
All you need to know is what essential photography gear to take with you. To answer what to put in your camera bag, we asked Flight Centre photography expert, Mark Frias, what he packs in his camera bag when he travels.
1. First things first: the backpack.
I use a Lowepro Flipside 300 backpack. It’s comfortable to carry for travelling. Best of all, it fits under an airplane seat as a personal item. This means your expensive photo gear is safely with you on the plane, instead of having to check it. It also allows you to still bring a carry-on item.
Built with a waterproof hood, the Flipside 300 is built for any weather condition. I also like that it has many compartments to carry my camera, lenses, accessories and a tripod.
2. Camera Body.
The camera body is the vehicle that drives the images from your lens to your SD card, your computer and ultimately, your audience. Camera bodies come in many different shapes, sizes and features. Whether you’re using a DSLR, mirrorless or a compact point-and-shoot, there are many options for camera bodies that will suit what type of photographer you are.
3. Lenses.
"Whenever I chat with other photographers, we usually end up talking about gear. Specifically lenses. It’s the same way guitarists can ramble on about a guitar amp that can achieve the holy grail of tones, or a new mom who is very proud of her bad*ss stroller." ~ Mark Frias.
So many lenses, so little time! When travelling, I try to limit how much I carry. In a perfect world, I would bring my whole lens collection wherever I travel, but since space is limited, I usually bring a maximum of 2.
If you have the option to attach a hood on your lens, go for it. (Not only will the lens hood add extra protection to your lens from bumping into objects, it will also make you look a serious photographer.)
General Purpose Lenses
Most entry-level DSLR cameras come with kit lenses. The most common kit lens is the 18-55mm, a very versatile tool that’s great for learning photography. It covers wide angles for landscape shots and a mid-range zoom for getting slightly closer to subjects.
When you’re ready to upgrade, consider tailoring your next lens choice to the style of photography you are most interested in exploring. Personally, I wanted an all-rounder travel lens, so opted for the Canon 24-70, F 2.8. This fine lens is what I travel with 95% of the time. It has a wider aperture and superior optics which means sharper images and great for using at low light settings.
Telephoto
One of my favourite things to photograph when travelling is wildlife. Using a telephoto lens gives me the opportunity to snap pics from a safe distance without alarming an animal or putting myself in danger. It’s common for photographers to use telephoto lenses for portraits to avoid distortion of image like a wide angle lens would. So on scenic adventures, I love equipping my 70-300mm lens with me.
Wide Angle
One of the least used lenses from my collection, but not to be overlooked. The wide angle lens can be a powerful and creative tool. Most of the time, my general purpose lens can handle wide landscape shots. But sometimes you want a little bit more in your peripheral. If you’re ever shopping for real estate online, many agents use wide angle photography for their spaces. I like using my 14mm F/2.8 wide angle lens at tight indoor spaces to make the area seem bigger.
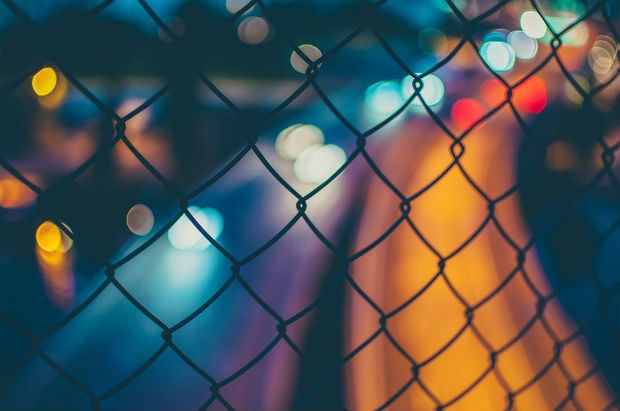
With the right lens, you can achieve this
bokeh effect. The foreground is in focus, with the background artistically blurred. We hope this doesn't leave you "on the fence" about which lens to choose.
4. Filters.
Equipping all of my lenses with filters is standard practice for me. Why? Lenses are not cheap, so protect that glass! (Ok, no need to yell at me, Mark.) Weather when travelling can be unpredictable. I've had it work against me of course on the day I want to shoot. By attaching a filter, you will protect potential impact to the expensive lens glass. But, don't get too careless just because you have a filter. They are not bulletproof.
Filters are your friend on very bright days. A UV filter can minimize haze when you are shooting with intense sunlight. Polarising filters are great for reducing glare, handling reflections on water, clouds and glass. They're also the perfect tool to manage the contrasts of skyline in landscape photography.
Some filters can achieve effects before processing on Photoshop, or your favourite image editor. You know, one with the blown-out over exposure, favoured by hipsters, that you often see on travel blogs or trendy photo shoots. (Just like this Coachella Instagram photo below, right Mark?)
5. Extra Batteries.
When I'm out for the day shooting still photos, a fully-charged battery will usually last me for the duration. However, an electrical outlet to plug in your phone to charge isn't always accessible. If you're a very active shooter, in the event you run out of juice, it helps to have a spare battery. When doing videography, extra batteries are a must.
6. Tripod.
Depending on what I am shooting will depend on which tripod I bring with me. Tripods come in many different sizes and features.
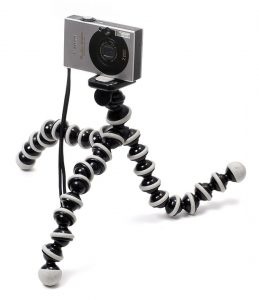
If I’m going out during the day and want to travel light, I would bring my funky-looking Gorillapod. It may look like a weird octopus, but this tripod is versatile for such a small guy with its flexible feature. It stands 9” in height and can be set on almost anything, from rocky terrain to wrapping it around tree branches.
The handy Gorillapod tripod.
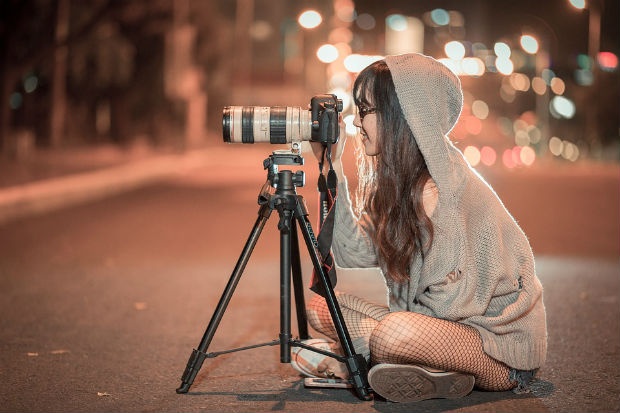
When I am shooting at night outdoors, one of my main priorities is to bring a sturdier tripod with a bit more weight. I bring a collapsible tripod made out of aluminum alloy. This tripod gives me more options when shooting with low light.
7. Microfibre Cloth.
Don't use a good microfibre cloth like your grandfather’s handkerchief stored in his back pocket. It's to keep your lens glass clean of any dust, rain and sometimes condensation that could possibly get on the surface. A dedicated microfibre cloth will always be better than using your shirt or sleeve to wipe your lens or LCD screen, which can get dirtier more often than you think.
8. SD Memory Cards.
You can never have enough storage space! I love hoarding data, especially for my photos and videos. If you’re a casual photographer and you’re shooting JPEG, it would be pretty tough to fill a 64GB SD card. But, if you are shooting RAW (a file format that is larger than your standard jpeg. It holds more image data that gives you more flexibility when doing digital post processing) or videos, you’ll quickly learn that storage space on one SD card goes fast. Tip: if you’re only rocking one SD card, always back-up your data to make room for more memories.
9. Light sources.
One of my favourite things to shoot is night photography and I always pack a small flashlight. It is an underrated tool that's often overlooked. It’s always handy to have a flashlight to find your way through the darkness when venturing out in the wilderness. Even in the bright city lights, I’ve gone out without a flashlight which made setting up difficult. Tip: when doing long-exposure astrophotography, use the flashlight as your paint brush, to expose your foreground while the twinkly stars are captured.
On-Camera flashes are useful in bringing out the foreground or your subject in portrait shots but I've found that, at least personally, I haven't been able to justify bringing one along for the rare occasions I have needed it.
Thanks for helping us "focus" on what to pack in our camera bags, Mark Frias! Happy Travels!
Ready to see the world from a different lens? Visit our friends at Lens & Shutter, in Kelowna, Victoria and Vancouver. Ready to book a photo-worthy trip? Contact us today at 1 877 967 5302.
Don’t forget to sign up for our free Club Red newsletters for exclusive deals, contests, travel news and blogs!
